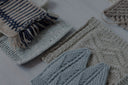
How To Knit: Box Pleats
Box pleating is a deceptively simple technique that allows you to create dimension and shape your fabric by folding it in on itself in a symmetrical pleat, joining the layers of the folds into one.
Written Steps
Determine the stitches that will form the pleat. The pleat must be worked over a multiple of 6 stitches. For best results, mark off the pleat stitches using stitch markers. Divide your pleat stitches by six - here, we’ll use N to mean ⅙ of your pleat stitches.
On the row or round where you will join your pleat, work up to the first pleat marker and remove it, slip the next N stitches on your left working needle to one DPN, [slip following N stitches on your left needle to a separate DPN] two times, rotate second DPN 180 degrees so that itlies behind first DPN with WSs together and in front of third DPN with RSs together. [With the right working needle, enter into 1 stitch from each of three DPNs and k3tog] N times. Set DPNs aside.
Slip the next N stitches on your left needle to one DPN, [slip following N stitches on your left needle to a separate DPN] two times, remove second pleat marker, rotate second DPN 180 degrees so that it lies in front of first DPN with RSs together, and behind third DPN with WSs together. [With the right working needle, enter into 1 stitch from each of three DPNs and k3tog] N times. Set DPNs aside.
This creates an “inward” pleat. To create an “outward” pleat, switch the directions in which you fold the DPNs - for the first half, fold the DPNs as for the second half here, and vice versa.
Shop our Latest Patterns
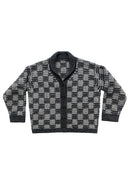

Checkers

Cyro

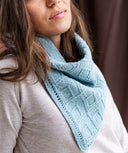
Diamants Cowl


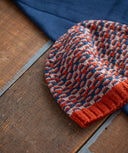
Diamants Hat


Matches


Diverge


Grooves

Loomed