Cable Knitting 101
Cables. We’ve all seen and admired them — expressively textured motifs that look like raised columns twisting around each other, criss-crossing, or meandering across planes of knitted fabric.
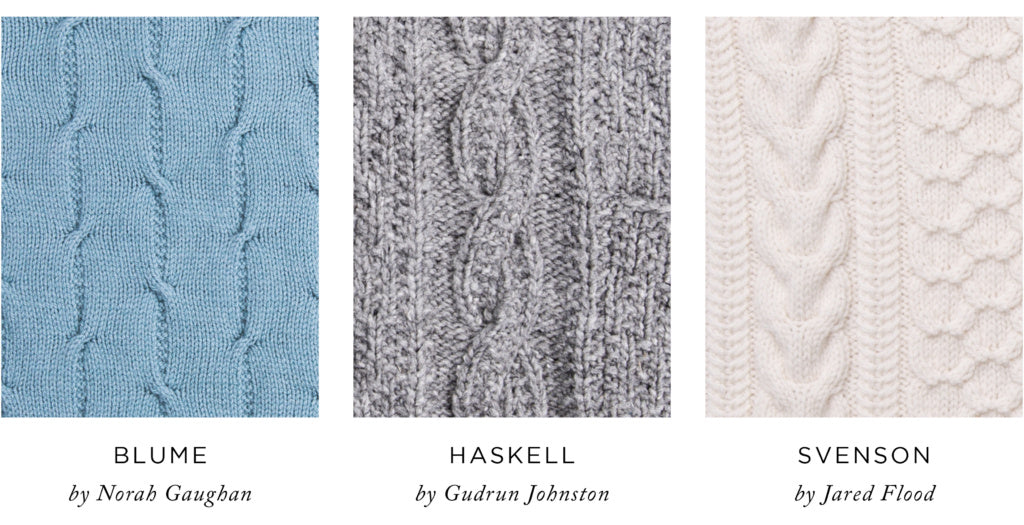
Surprisingly, cables are quite simple to work. In the most fundamental sense, they are made by knitting groups of stitches out of order — you place a couple of stitches on hold, work the next stitches, then return to work the previous stitches you placed on hold. As a result, these groups of stitches quite literally cross over or twist around each other. The most ornate cabled motifs are formed by clever interpretations and variations on this essential technique of knitting stitches out of order.
Anatomy of a Basic 2/2 Cable Cross

One of the most basic and familiar cable motifs involve narrow columns of stockinette stitches twisting or crossing over each other every couple of rows. Typically, these columns are surrounded by a background of reverse stockinette and appears like twisted rope.
In this swatch we have two “rope” columns. Both columns involve 2 knit stitches crossing over its neighboring 2 knit stitches every 4th row. The column on the rightmost edge slants to the right and the column on the leftmost edge slants to the left. We’ll show you how to work this cable, also called a 2/2 (Two-by-Two) Cable Cross, here.
Tools

First you’ll need (in addition to your yarn and your knitting!) a cable needle. These are small needles designed specifically for holding stitches aside as you knit a cable. They come in various diameters, can be made out of various materials, and are sometimes curved or have grooves in the middle to help your held stitches stay in place. However, you can also use a standard double-pointed needle for the same purpose.
We recommend choosing a size or diameter that is slightly smaller than the needle size you’re using for your project, but not so small that the stitches you’re placing on hold slip off.
Knitting a 2/2 Right Cable Cross

Step 1. Work as directed by the pattern up to the stitches you will be cabling.
The 2/2 Cable Cross involves 2 stitches crossing over another 2 stitches. It’s worked over 4 stitches total, so here we have our 4 stitches ready and waiting on the left needle (LN).

Step 2. Slip 2 stitches (one half of your 2/2 Cable Cross) purlwise from the LN to a cable needle (CN) or double-pointed needle (DPN).

Step 3. To make a 2/2 Cable Cross (or any other cable cross) that slants to the right (2/2 Right Cable Cross), maneuver your CN so that the held stitches are to the back of your work (behind your LN).
Tip: Most, if not all, cabled patterns will always instruct you where to hold your CN for a particular cable, so don’t worry if you don’t always remember where to hold your CN for a right (or left) cable cross!

Step 4. Skipping the 2 stitches held on the CN (at the back of your work), knit 2 from the LN.

Step 5. Knit the 2 stitches you’ve placed on hold. You can knit them directly off of your CN (as we’ve done here), or slip them back to the LN before knitting off of the LN.
And there you have it — a lovely little cable that slants to the right!
Knitting a 2/2 Left Cable Cross

Step 1. Again, work as directed by the pattern up to the stitches you will be cabling.
Here we have our next 4 stitches on the LN ready to go for another 2/2 Cable Cross.
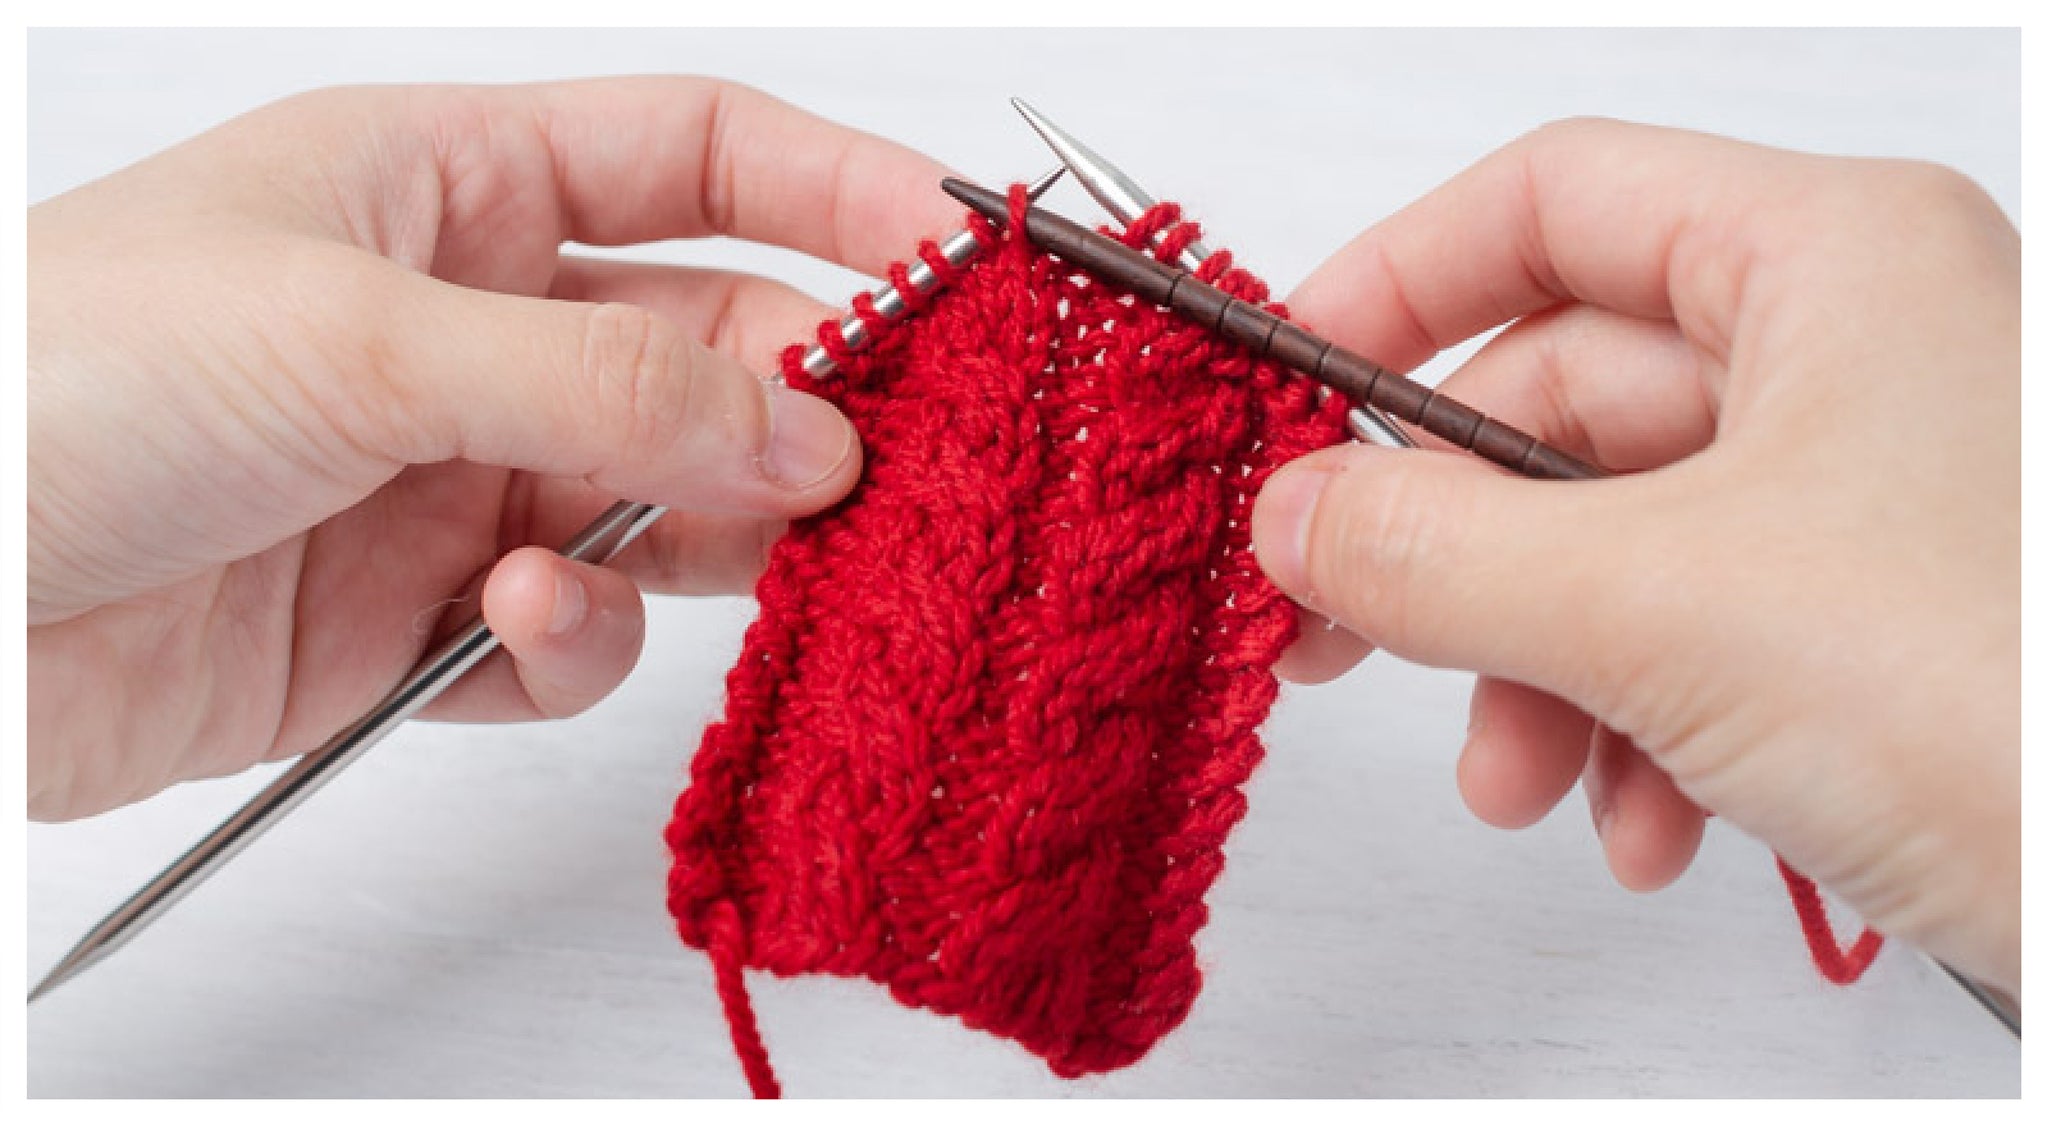
Step 2. Just as before, slip 2 stitches purlwise from the LN to a CN.

Step 3. For a 2/2 Cable Cross that slants to the left (2/2 Left Cable Cross), keep your held stitches at the front of your work.
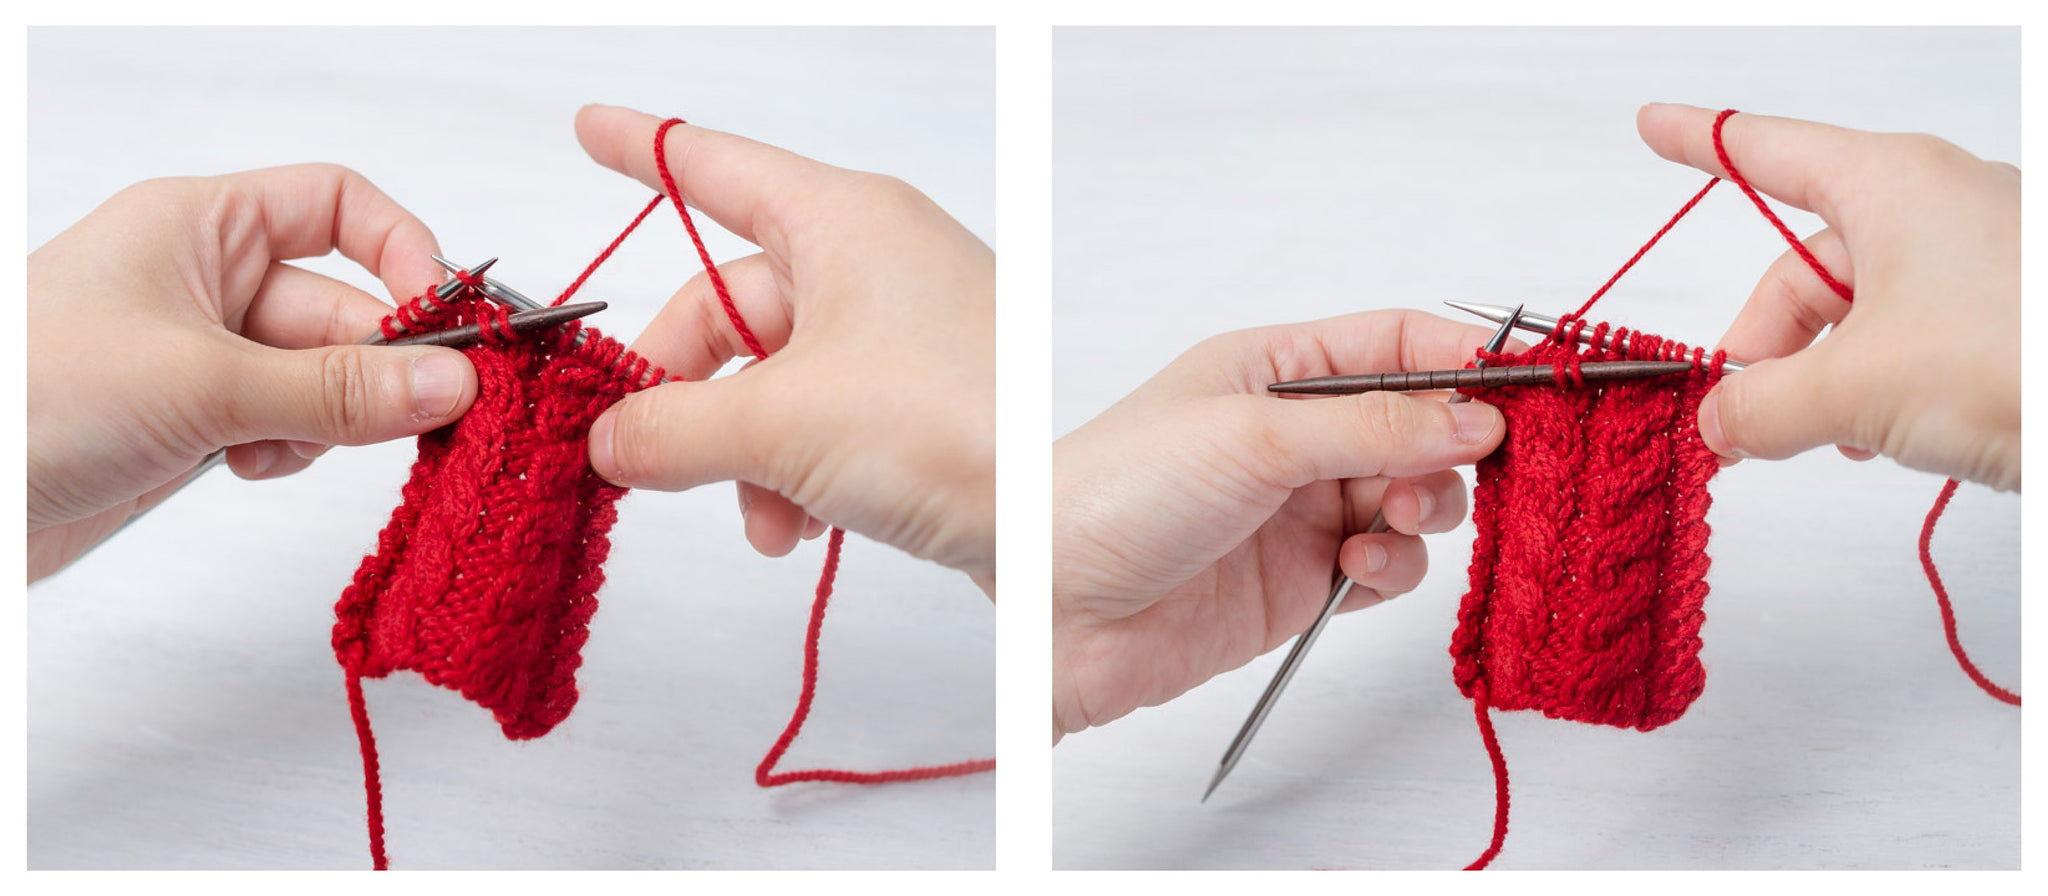
Step 4. Skipping the 2 stitches held on the CN (at the front of your work), knit 2 from the LN.

Step 5. Then, knit the 2 stitches you’ve placed on hold on the CN, whether directly off of the CN (as we’ve done here), or after slipping them back onto the LN.
Voila! — You’ve just worked a 2/2 Right Cable Cross and a 2/2 Left Cable Cross.

When you stack these cable crosses on top of each other, as we’ve done here (every 4th row), you create a lovely twisted column that resembles rope. You can play with how many stitches you cross over each other (3/3 or 6/6, perhaps?) or how many rows or rounds you work between your cable crosses.

Tip: Sometimes it can be tricky to count how many rows you’ve worked after a cable cross row. Here’s a tip — when you work a cable, you’ll get a small little hole at either side of the cable cross (it’s natural!). Find the hole (the one on the left side will always be more pronounced than the one on the right side) and insert a needle tip into it. You’ll see ladders — maneuver your needle behind the ladders and come out of the topmost “rung”.
The bottom-most “rung” indicates the row where you made your cable cross. The steps above it indicate how many rows have been worked after the cable cross row. Here, we see that 3 plain rows have been worked after the cable cross row.
Limitless Combinations
At its root, knitting cables is simply knitting stitches out of order. However, once you introduce into this equation some very clever variations — manipulating how many stitches cross over each other, experimenting with how often the stitches cross and at what points in the fabric, playing with different textural stitch patterns, or exploring symmetry and asymmetry in the direction of cable crosses — you’ll find that the possibilities for the combinations you can create are quite endless!

If you’re interested in learning more and crossing over to the spell-binding world of cables, we highly recommend Norah Gaughan’s Knitted Cable Sourcebook, where she says herself, “Honestly, after 40-plus years of working with [cables], I feel as if I have barely begun to uncover their potential. It is an exciting adventure to which I welcome you.”
And if you’re eager to get cabling right now, explore the cabled patterns in our extensive pattern archive!


