
CUE: DELIGHTED SWOONING
The original Weekender sweater designed by Andrea Mowry is one of my all time favorite pullovers. Knit in worsted weight Shelter, it dresses up and down effortlessly, wears with ease and is skill-accessible for those looking for success knitting their first sweaters. It’s the first thing I reach for when I want to sneakily wear pajamas but still look stylish. And I'll tell you what: this Light version has me kicking the old one to the curb! A fingering weight fabric makes the new Weekender even more cozy and versatile. And to all those doubting the speed of its small gauge, I was able to knit this in about 3 weeks; turns out that size US 4 needles aren't so bad.
TIPS AND THOUGHTS
Having knit this sweater twice and taught classes for it many times, I have a few go-to tricks that make for exceptionally smooth sailing.
Two-at-a-Time Sleeves
How many times have you heard about “Sleeve Island”? Not exactly everyone’s favorite place to vacation, is it? To stave off that journey, I knit my sleeves two-at-a-time. First, I pick up one sleeve, knit for an inch or so, then do the same for the other. Once both sleeves have a little distance from the body of the sweater, I work them both at the same time on one long magic loop cable and cruise to the finish line.
Some people find two-at-a-time sleeves to be a little fussy — and it’s true: there is some yarn management required. I recommend having two separate balls of yarn (or one skein split in two) to prevent the worst of the yarn tangles. Additionally, if you tend to turn your sweater clockwise when you finish a row, just remember to turn it counterclockwise when you finish the next row. This keeps your yarn from twisting around itself.
I find that my sleeves materialize much faster and with less effort when I use this method; I also never have to second guess whether my decreases are happening symmetrically or if my sleeves will perfectly match in length. Since I’m knitting them concurrently, I know they are true twins.
Removable Stitch Markers
As I knit, I find removable stitch markers to be crucial to my success. For the gorgeous center seam detail featured on the Weekender, I marked that single stitch with a removable marker on the fabric rather than the stitch marker on my needle that Andrea Mowry recommends. Sometimes closed stitch markers can affect my gauge as I pull the needles apart to move the marker or accidentally loosen tension as I pull the yarn around it. Using a removable marker on the fabric itself still tells me when that special stitch is near, but because I move it up the sweater rather than across my needles, it doesn’t interfere with my gauge. Don’t forget to work that special stitch when it comes around, though! It can be easy to fall into the rhythm and blow right past it on accident.
I also love removable markers to indicate where I have made a sleeve decrease. That lets me count rows from my last decrease round without having to track them down in the fabric itself. Plus, it makes it super easy to see if you’re finished with your sleeve shaping! Just count your removable markers to see if you have hit the mark yet.
Adjusting for Length
This is a remarkably easy sweater to adjust for preferred length. For my version, I trimmed 3” off the advised length to better pair with all the high-waisted jeans that populate my wardrobe. To determine how long the body should be, simply measure your favorite pullover from the hem to the armpit. When working the body, stop knitting in the round when you reach that length. When working the Weekender from this measurement, be sure to measure from the point of connection between the split hem, rather than from the bottom of the hem itself. This detail is crucial if you want to make sure the sweater body hits you where your favorite sweater does. Measuring from the split ensures you won’t have any unintended glimpses of side-skin peeking out because you measured in the wrong place and ended up with a too-short-sweater.
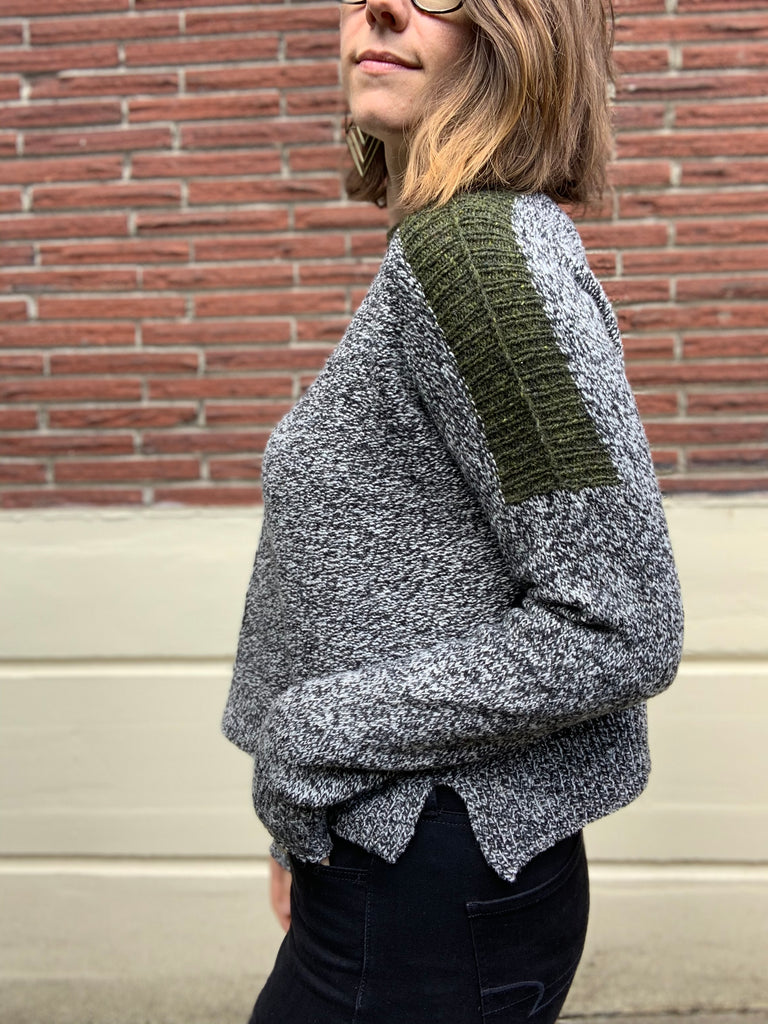
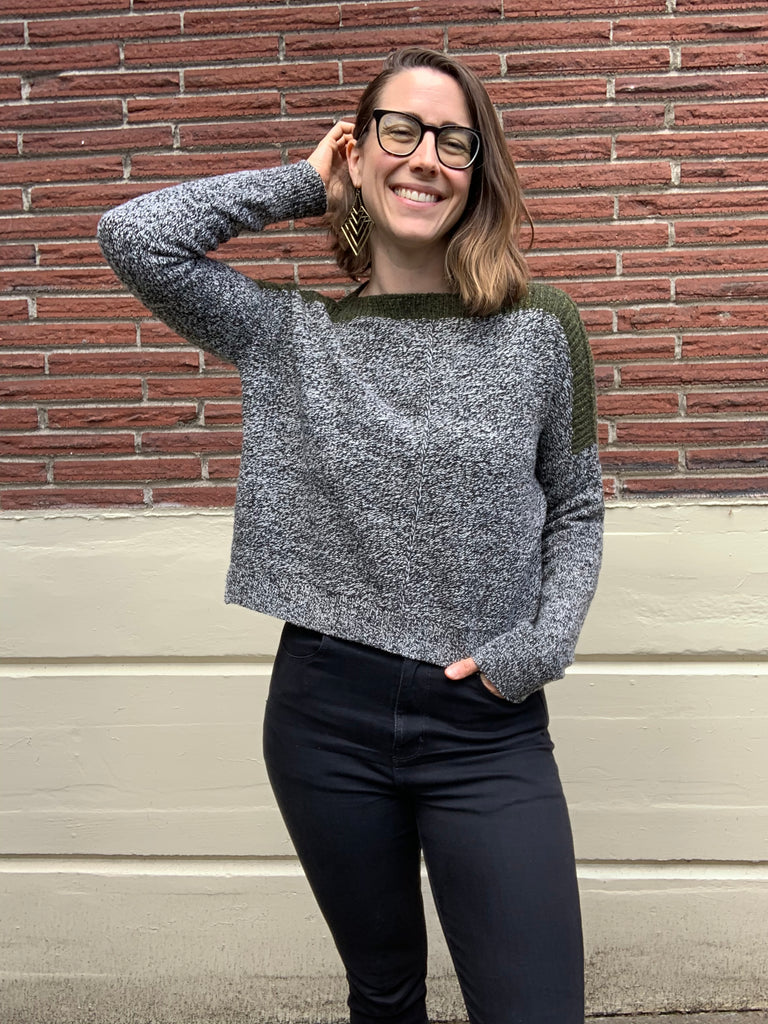
CONTRAST SHOULDER INSTRUCTIONS
To achieve the contrasting shoulders I added to my sweater, all the ribbing for the neckline was knit in a secondary color. One skein was more than enough to knit this contrast shoulder. I used 15g of Loft's 50g skein for my size of 48".
Where to Start
After finishing the short row shaping at the top of the front and back pieces, begin using your new color on Row 20 (WS). This timing is very important as it keeps your ribbing from having an initial line of obvious purl bumps in the main color. You then work all your ribbing and your tubular bind off in your contrast color. That same color will be used for the exposed three-needle bind off — although now that I think about it, using your main color for the bind off would also make a very modern design detail! [Note: I did not make any modifications to the neckline or neck opening; that was knit to pattern]

Another elegant way to incorporate that contrast color would be to include it in the hem and sleeve cuffs to give it even more space to shine. You could add stripes to the full body of your design or just add a row or two of contrast stripes at the wrist. This pattern acts as a delightful playground for color. Making this classic into something uniquely your own is a lot of the enjoyment. Don’t be afraid to experiment and see what strikes your fancy!
LOVELY LOFT
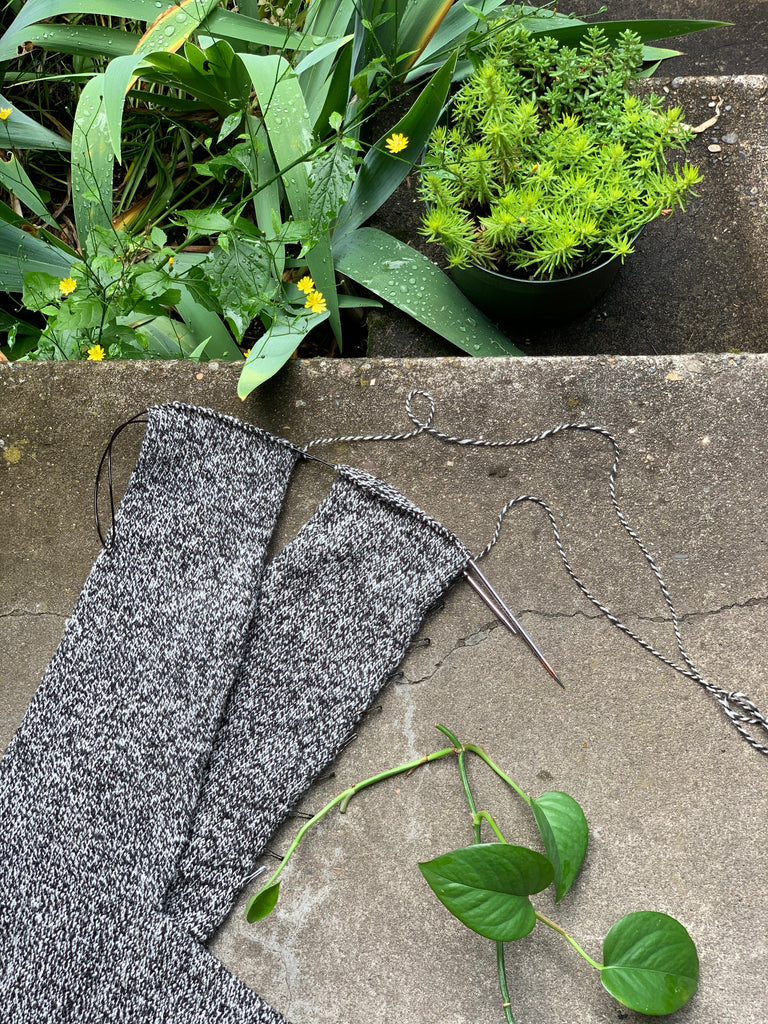
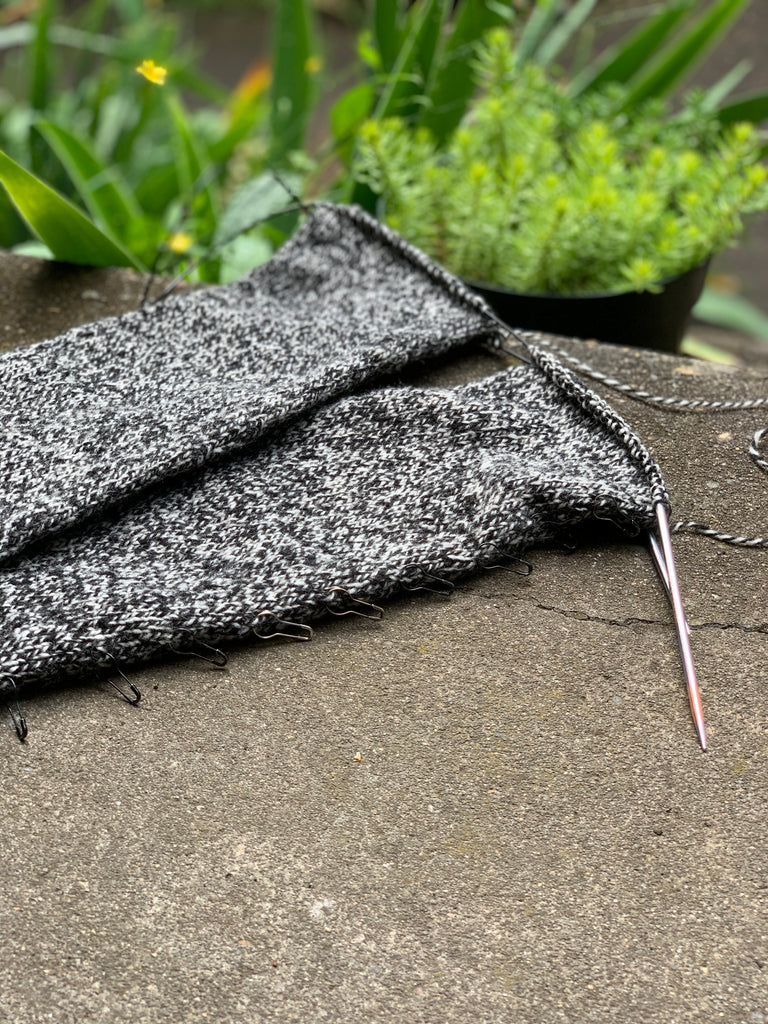
Loft is the best choice for the Weekender if you love a light, drapey fabric that doesn’t skimp on structure and warmth. Woolen spun yarns like Loft trap a lot of air in their spin, making them buoyant and flowy. With a lot of positive ease in an oversized sweater, you don’t want to use a yarn that drags and pulls heavily on the fabric. Tweeds are especially lovely on the reverse stockinette side, seen here in the Weekender body, because they have nuanced heather and textural interest that are really highlighted in those small purl ridges.
If you’re interested in knitting your own contrast-color Weekender, Loft makes it easy to pick pleasing color combinations. Loft’s marls consist of two separate colorways spun together, meaning you can use a marl and one of its composite colors for easy coordination.
PALETTES
Since I can’t knit all the gorgeous variations I keep dreaming about, I put together a few Loft palettes to entice you to knit them in my stead!

I hope you have a blast knitting your own Weekender Light and I can't wait to see what inventive new mods and beautiful FOs you start putting out into the world.
15 comments
Love this contrast option, thank you! This might have been obvious for other people, but when you change contrast color at row 20(WS) it looked best by PURLING those stitches so they were hidden on RS. Otherwise it didn’t look good for my project. Then you work in ribbing as instructed.
Hello all, thank you for your questions about the amount of yarn used! Allison used 5 skeins of Newsprint (main color) and 1 skein of Artifact (contrast) in her sweater following the size 48" directions.
Please feel free to send any further questions to support@brooklyntweed.com.
I love the splash of color! I have never tried the two-at-a-time sleeves, but it would probably solve all my “sleeve anxiety” issues! Someone here said there was a tutorial on the jogless join, in their first book. Can I ask which book that was? I am searching for a tutorial that makes sense to me, and Brooklyn Tweed’s patterns and tutorials are so well written.
Thanks so much for the “Knitting Two Sleeves at a Time“ tutorial! I can’t wait to try it!! I always struggle getting them exactly the same length. Many of those stitch markers (see above) involved. Often resort to doing the sleeves flat which is tedious too. This sounds so much easier.
I wasn’t thinking about jumping on the Weekender bandwagon until I saw this! Now I need to peruse the Loft colors . . . .